
Fitting Instructions
Congratulations on your new set of Black Duck® SeatCovers!
Our seat covers go through a rigorous design process to ensure they not only offer a tailored fit to your specific seat design, but they are also designed to be as simple as possible to fit. Let’s help get you ready for your #blackduckadventure!
Follow the guide below to assist you in fitting your new Black Duck SeatCovers!
If you are after a more vehicle-specific guide, you can try our YouTube channel which has a range of videos for select models YOUTUBE FITTING VIDEOS
To start
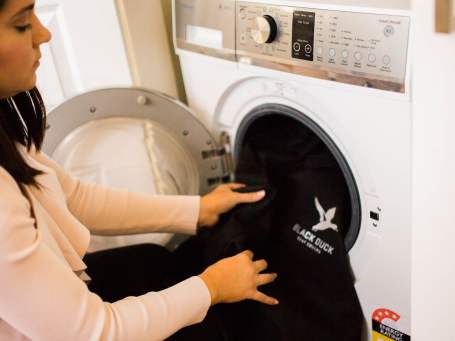
We recommend unpacking each seat separately to avoid mixing up the driver, passenger and rear seat parts. Remove the covers from the packaging and lay them out to check that you have all the correct parts.
You should have:
- Seat base
- Backrest (sometimes base and back are attached)
- Headrest
- Armrest (if applicable)
- Each piece is identified on the inside with a white label. On the Driver and Passenger seat label, there will be a ‘DR’ to indicate Driver and a ‘PA’ to indicate Passenger. If you have seat fitted air-bags, the teal AIRBAG label will go on the outside/window side of the seat.
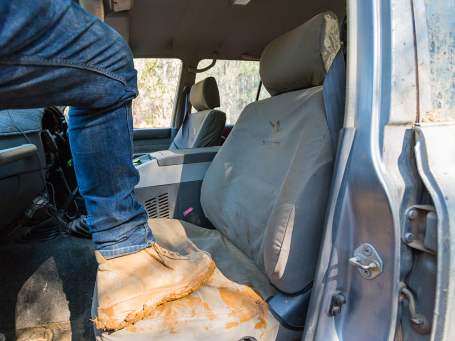
- Vacuum your original seats and remove anything from the seat pockets.
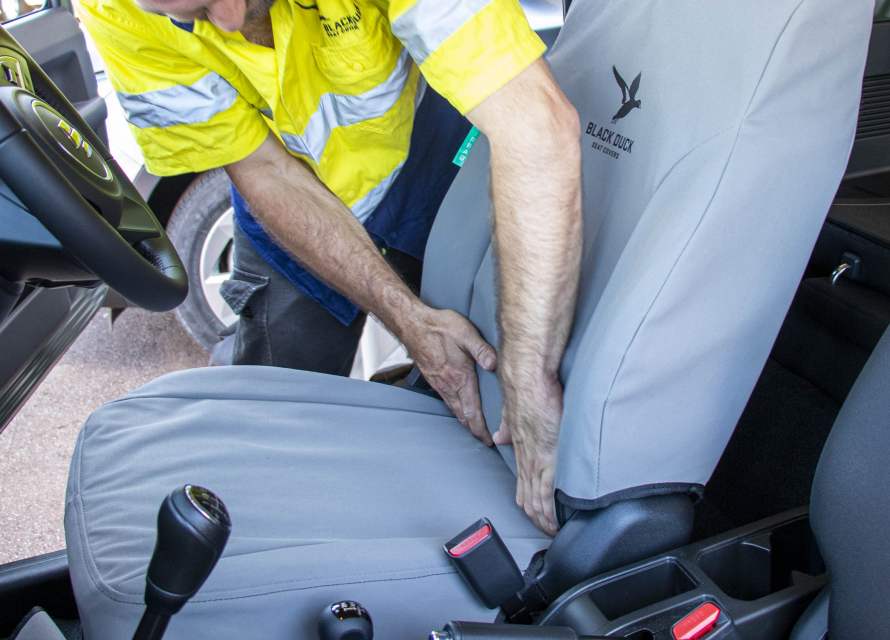
Fitting the seat base:
- Slide the cover over the seat base, ensuring it is clear from any levers and buttons, line up the seams of the cover to the seams of the seat and massage into place.
- Once the cover is in line with the seams of the seat, push the centre flap through the seat base until you can see it pop out the back of your seat. (In some models you may need to detach the carpet on the back of your seat to allow access).
- Pull the side flaps around and attach to the centre flap. Check to make sure none of the seat's levers and buttons is obstructed.
- If included in the seat cover design, pull straps under the seat, clearing all tracks and fittings. Pull tight and fasten to the opposite side – test movement of seat to ensure nothing is obstructed.
- Seat base fitting complete.
Fitting the backrest:
- Remove headrest (if applicable).
- Slide cover over the top (like a jumper), make sure the back of the cover does not catch in the pocket on the back.
- Line up the seams of the cover to the seams of the seat and massage into place.
- Push the flap through the base of the seat, just like you did with the base.
- Pull through tight and attach to the back of the seat.
- Slide the headrest cover over the headrest with the label on the front and secure the flaps. This is designed to be a tight fit so make sure you have the seams lined up.
- Replace the headrest.
- Backrest fitting complete.
Repeat this process for the passenger seat and rear seats.
Once you have had your covers for a couple of weeks, we advise that you re-tension them as they will mould to the shape of your seat over time. This will leave you with the best fit possible.
**WARNING**
Only Black Duck® SeatCovers that are labelled as being Air-bag compatible are to be fitted to vehicles with seat fitted air-bags. Black Duck® SeatCovers must not be fitted to seats containing side-impact air-bag components unless they are the correct seat covers with the appropriate certification. Black Duck® SeatCovers accepts no responsibility or liability if this warning is not adhered to.
How has your experience been with Black Duck SeatCovers? We'd love to know!